Get your apps in Intune
Microsoft has this great tool to manage corporate devices, called Intune. Companies use it to manage their devices, and to deploy apps to them. But how do you get your apps in Intune? In this post I will explain how to get your apps in Intune, and how to deploy them to your devices.
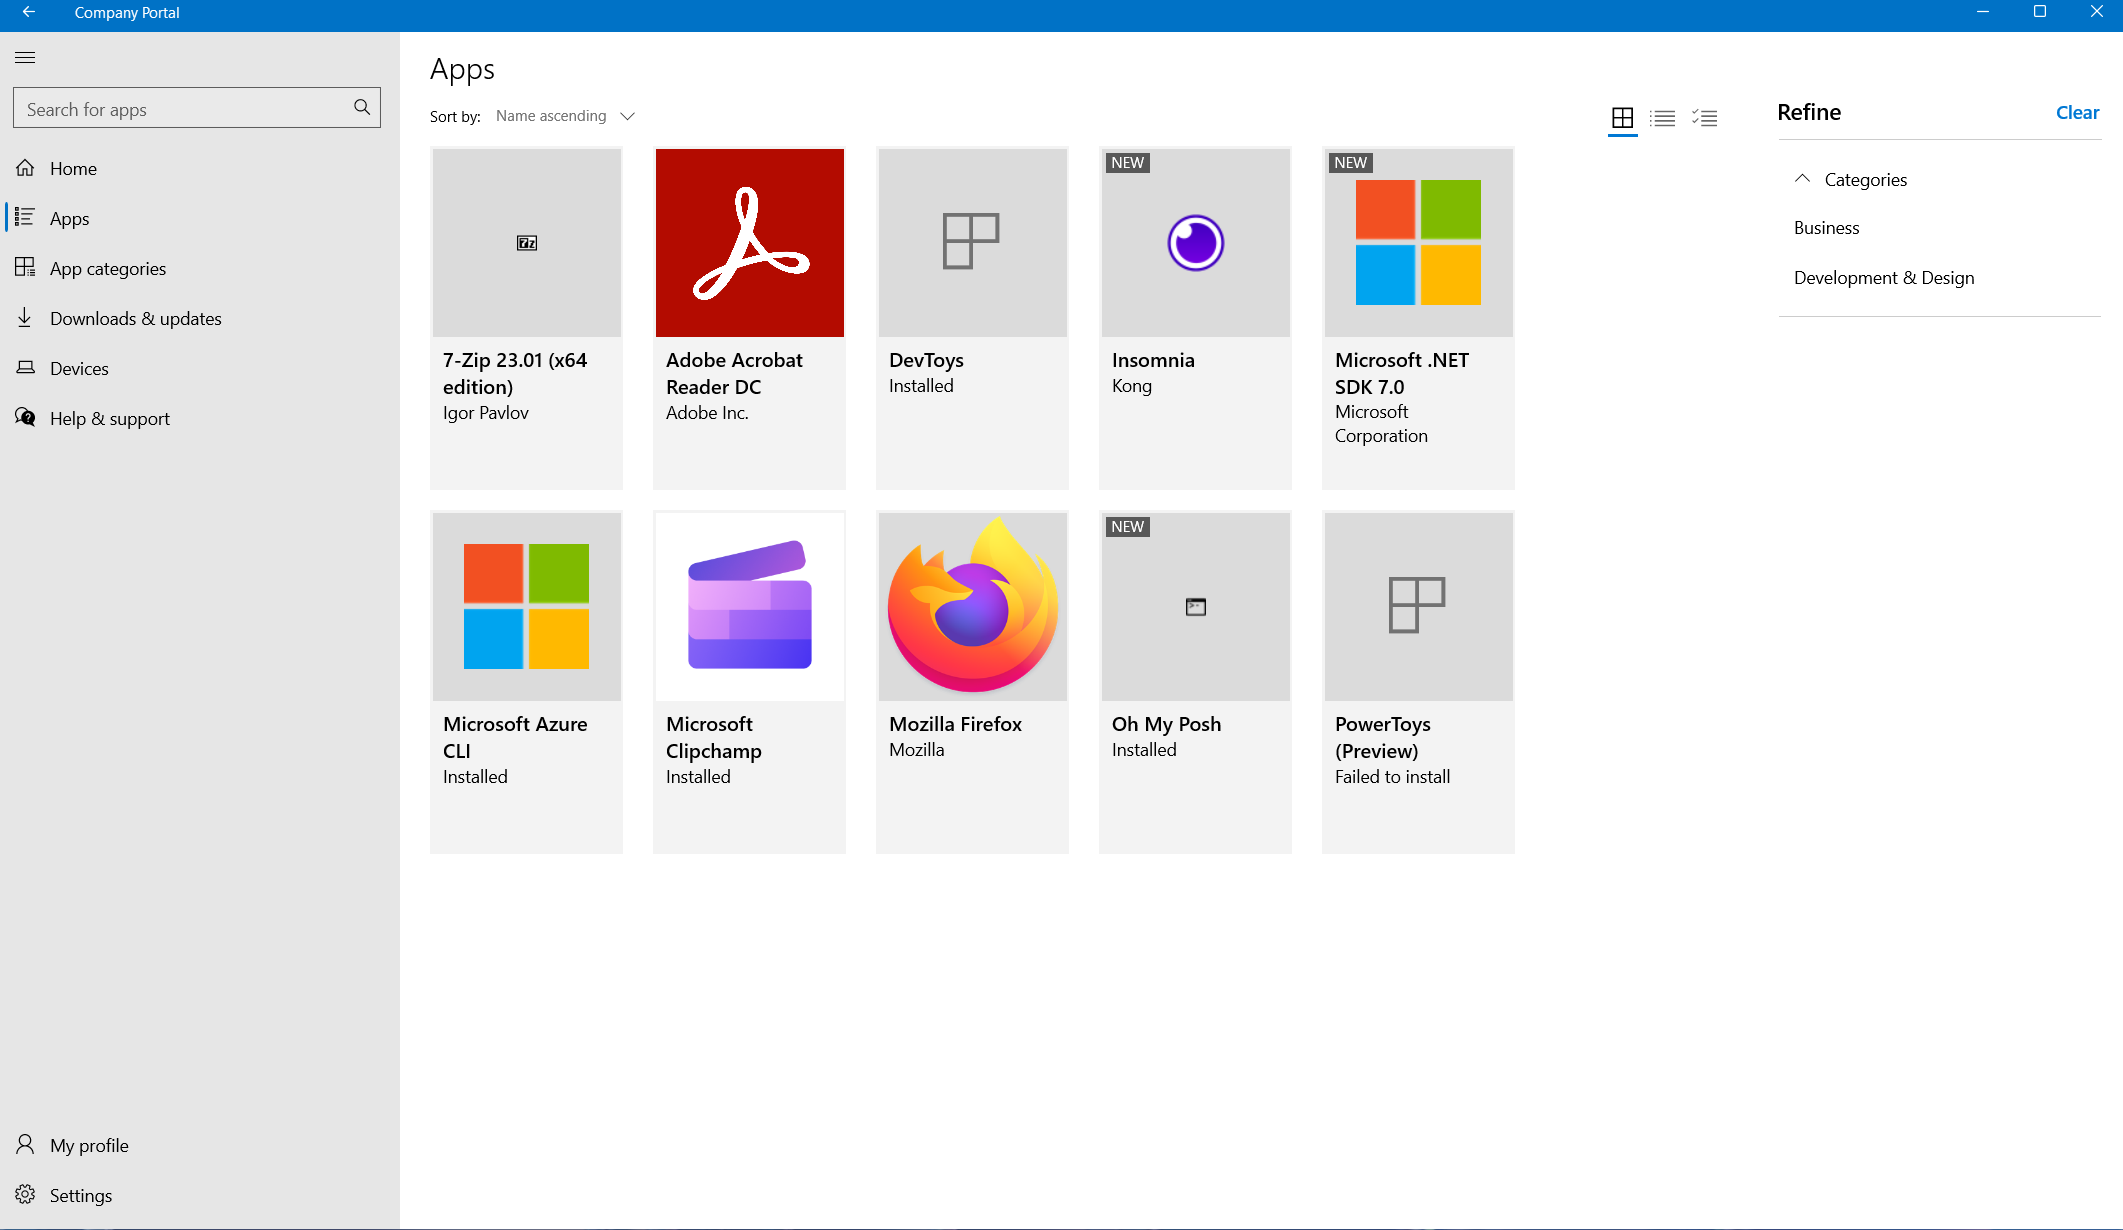
Apps in Company Portal
Get your apps in Intune
There are multiple ways to get your apps in Intune. You can use the Endpoint portal or the Graph API.
Package apps for Intune
Either way needs an .intunewin file. This is a zip file with the app and a setup.exe or install.cmd file. You can create this file with the IntuneWinAppUtil. This tool will create the .intunewin file for you.
It’s not just a zip file, it’s a zip file with a specific structure. And it has an encrypted zip with the setup inside it. You can create this structure yourself, but it’s easier to use the tool (for now).
Upload apps to Intune
Once you have the .intunewin file, you can upload it to Intune.
- Go to the Endpoint portal
- Go to Apps > Windows
- Click Add
- Select Windows app (Win32)
- Enter all the required details
- Wait for it to upload
- Wait for it to process
- Assign it to users or devices
If you open the dev tools in your browser, you can see the API calls that are made. You can use these calls to automate the process. It is using beta endpoints of the Graph API. If you check the individual requests carefully you’ll find it very hard to replicate.
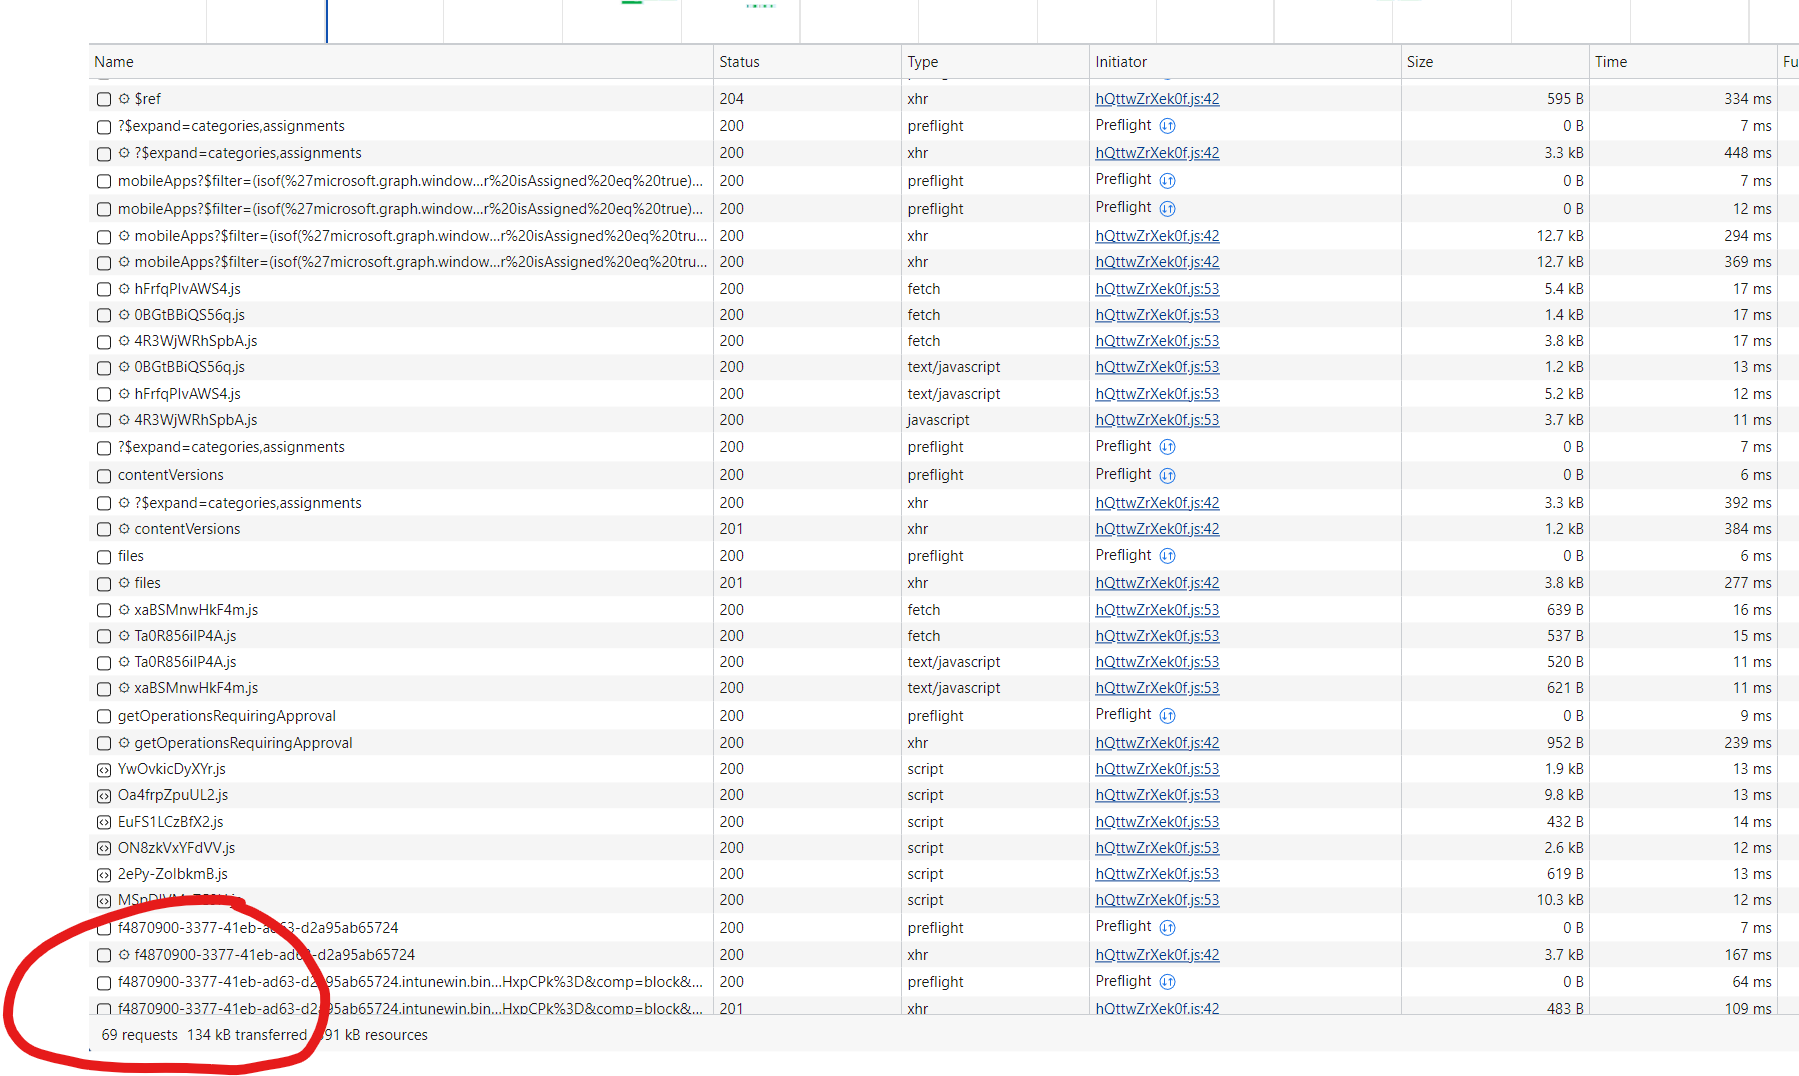
Uploading a small app to Intune
Things I noticed:
- You need to create an app first, then a
contentVersion, then acontentVersionFileand then you can upload the file - The upload is done in chunks (max 4 MB)
- After the upload you need to call
committo finish the upload. This step needs data that is embedded in the.intunewinfile. - Then you need to pull the contentVersionFile several times until there is a “final” status.
- And then finally, you need to update the app to set the correct commitedFile.
Assign apps to users or devices
Once you have uploaded the app, you can assign it to users or devices. You have 3 kinds of assignments: Required, Available and Uninstall. And you can assign it to all users, all devices, or a group of users or devices.
If you have an accounting group and those people have a specific app they always need, you assign it to that group as required. This means the next time their laptop will contact Intune, it will install the app.
If you have this app that some people like to use, but it’s not required, you can assign it as available. This means the user can install it from the company portal, on demand.
Pre-install apps
You can also pre-install apps. This means the app will be installed during the enrollment process. This is great for apps that are required for the enrollment process. Like the company portal app, or any app that all your users need.
By pre-installing apps you can make sure that all your users have the apps they need, without them having to install them manually when they get their laptop.
Installing multiple apps during the enrollment process can take a while. So make sure you don’t install too many apps. Or make sure you use the required Delivery Optimization settings, to configure how apps are downloaded.
Series: Intune
- Get your apps in Intune
- Package apps for Intune
- Publish apps to Intune
- Remove platform dependency for WingetIntune
- Analysing Win32 Content Prep Tool
- Decrypting intunewin files
- Introducing Content Prep PowerShell
- Creating IntuneWin files with C#
- Hyper-V template for Intune
- Intune requirement for ARM64 devices
Follow along
In the next post I’ll show you how I automated the creation of those .intunewin files. And how I eventually created an app that will package and publish any app from winget to Intune in matter of seconds.