Secure SSH with Windows Hello
You currently have all these security keys these days that allow you to securely store your ssh private keys on a device to prevent them from being stolen. But what if you could use your face to unlock your ssh keys? Well, you can! And it’s pretty easy to set up.
Prerequisites
- Windows 10/11
- TPM 2.0 (Trusted Platform Module, most modern computers have this.)
- Windows Hello enabled (face, fingerprint, pin, etc.)
- OpenSSH for Windows version
8.9.0.0p1-Betaor higher. - Windows Terminal (optional, but highly recommended).
Install OpenSSH for Windows
The version of OpenSSH that comes with Windows is not new enough to support this feature. And they are not very clear how/when they start updating the built-in version. You will need to install the latest version from the PowerShell/Win32-OpenSSH. I found the easiest way to do this is by using Winget. You this one command to install it:
winget install --id=Microsoft.OpenSSH.Beta
This command will that the latest version available and install it for you. At the time of writing this, the latest version is v9.5.0.0p1-Beta. They state that this is a beta version, but I have not had any issues with it. And it has been a beta for several years now. Use at your own risk, and just uninstall if you’re facing ssh issues.
Even if the setup does not require a restart, I would recommend restarting your computer after installing OpenSSH. I had some issues with the ssh-agent service not starting after the install and a restart fixed it.
To check if you have the correct version installed, you can run the following command:
ssh -V
# And it should output something like:
# OpenSSH_for_Windows_9.5p1, LibreSSL 3.8.2
Upgrade PowerShell
And while you’re at it, you might as well upgrade your PowerShell to the latest version. This is not required, but it will make your life easier.
winget install --id=Microsoft.PowerShell
Generate SSH key
Now the interesting part. You will need to generate a new SSH key. You can do this by running the following command:
ssh-keygen -t ecdsa-sk
# or the following for a different kind of key:
ssh-keygen -t ed25519-sk
With the -t flag you specify the type of key you want to generate. The -sk part is the important part. This tells ssh to generate a key that will be stored in the TPM (or on a usb security key). This is the part that makes this all work.
Show public key
Now that you have generated a key, you will need to show the public key. You can do this by running the following command:
cat ~\.ssh\id_ecdsa_sk.pub
# It should output something like:
# sk-ecdsa-sha2-nistp256@openssh.com AAAAInNrLW___moresymbols___c3NoOg== xxx@xxx
This string is what you will need to add to your ~/.ssh/authorized_keys file on the server you want to connect to. You can do this by running the following command:
ssh-copy-id -i .\.ssh\id_ecdsa_sk.pub user@server
Where you replace user@server with the user and server you want to send this need key to. You will be asked to enter the password for the user on that server. This is the password you use to login to the server, and this is probably the last time you will need to enter this password. Since you’re just copying the public key to the server, you can also just copy the string from the previous command and paste it into the ~/.ssh/authorized_keys file on the server by other means. Some hosting providers allow you to set your public keys in the control panel, for easy access to your newly created virtual machines.
Connect to server
You’ve done all the “hard” work. You have installed all the requirements, generated a key and uploaded the key to the server (hopefully). Now it’s time to test it out. You can do this by running the following command:
ssh user@server
And you will be asked to confirm you’re a present at your device. My laptop has a Windows Hello ready camera, so I’m asked to press Ok after if detected my face. But you can also use your fingerprint sensor or the pin you used to setup in Windows.
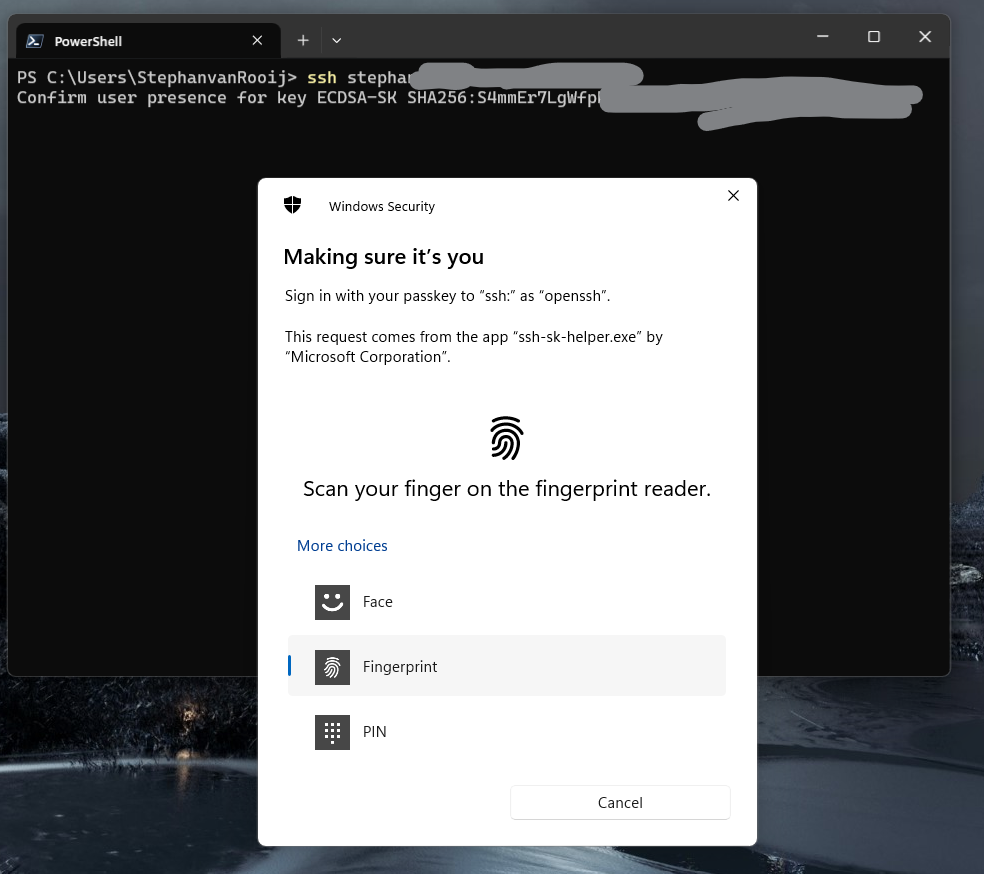
SSH login with Windows Hello
Success
If everything went well, you should be logged in to your server. You will also see the User presence confirmed message in the terminal, meaning Windows was able to confirm you presence. This will always require user interaction, so even if you have a face recognition camera, you still need to click something!
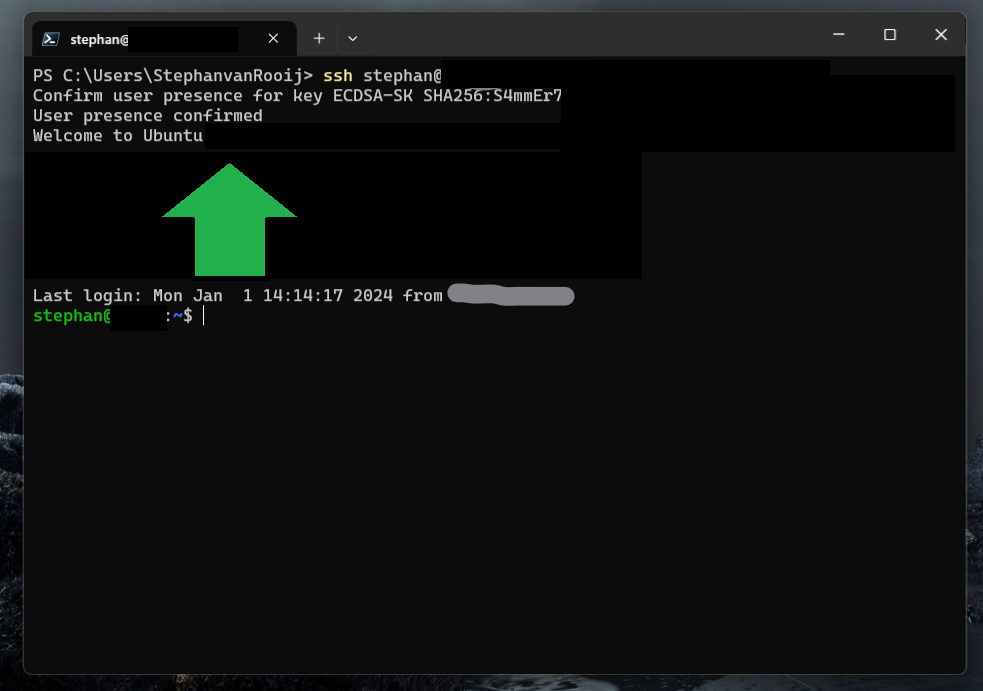
SSH login user confirmed
Make it even more secure
Now that you can login to your server with your face (or fingerprint, or pin), you can make it even more secure by disabling password authentication. You can do this by editing the /etc/ssh/sshd_config file on your server and setting the PasswordAuthentication to no. You can do this by running the following command:
# Disable password authentication in sshd_config using sed to replace the line
sed -i 's/PasswordAuthentication yes/PasswordAuthentication no/g' /etc/ssh/sshd_config
# or open the file in my favorite editor and change it manually
nano /etc/ssh/sshd_config