Create your first PowerShell module with C#
Let’s say you have a C# project and you want to create a PowerShell module for it. Creating a PowerShell module for you project allows anyone to use your project without installing the .NET SDK or compiling the project. If your target audience consists mainly of system administrators, they will be more comfortable using PowerShell than compiling a C# project.
In this post I’ll show you how to create a binary PowerShell module, which means you’ll be writing your command lets in C# and not in PowerShell.
Template for PowerShell modules
What do you know, there is a dotnet new {template} for binary PowerShell modules.
dotnet new install Microsoft.PowerShell.Standard.Module.Template
Create a new project
Go to a directory where you like to create your module and run the following command, where you replace MyModule with the name of your new module.
dotnet new psmodule -n MyModule
Open the project in Visual Studio
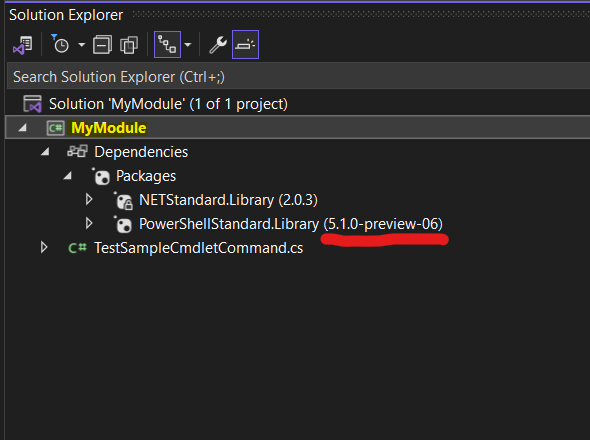
Go ahead and open the project in Visual Studio. You can see the first command let TestSampleCmdletCommand that is already created for you.
PowerShell module in C#
For some reason the installed PowerShellStandard.Library NuGet package is really old and has the -preview-06 suffix. I always update this to the latest version.
It does not seem to create a Solution file, so the first time you open the project it will create a solution automatically. Press CTRL + SHIFT + S to save the solution file, just accept the default name.
Debugging in Visual Studio
To enable debugging for your PowerShell module, you create the Properties folder in your project, and add a launchSettings.json file to it with the following content.
This file will tell Visual Studio how to start your module. Be sure to replace MyModule with the name of your module.
{
  "profiles": {
    "Start in PowerShell": {
      "executablePath": "C:\\Windows\\System32\\WindowsPowerShell\\v1.0\\powershell.exe",
      "commandName": "Executable",
      "commandLineArgs": "-noexit -command &{ Import-Module .\\\\MyModule.dll -Verbose}"
    },
    "Start in PowerShell Core": {
      "executablePath": "C:\\Program Files\\PowerShell\\7\\pwsh.exe",
      "commandName": "Executable",
      "commandLineArgs": "-noexit -command &{ Import-Module .\\\\MyModule.dll -Verbose}"
    }
  }
}
Debug your PowerShell module in Visual Studio
To test your module, you have to build it an import the latest version. After you imported the module, it stays in that session until you close the PowerShell window. This makes it hard to debug your module.
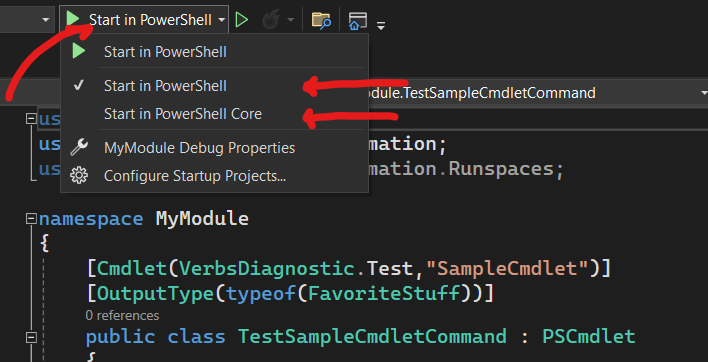
The launch profiles above will start a new PowerShell session and import the latest version of you module. This session has the debugger attached, so you can set breakpoints in your Command lets and they are actually hit (if you use the PowerShell core option). The downside is that it stays in the “running” state until you close the PowerShell window.
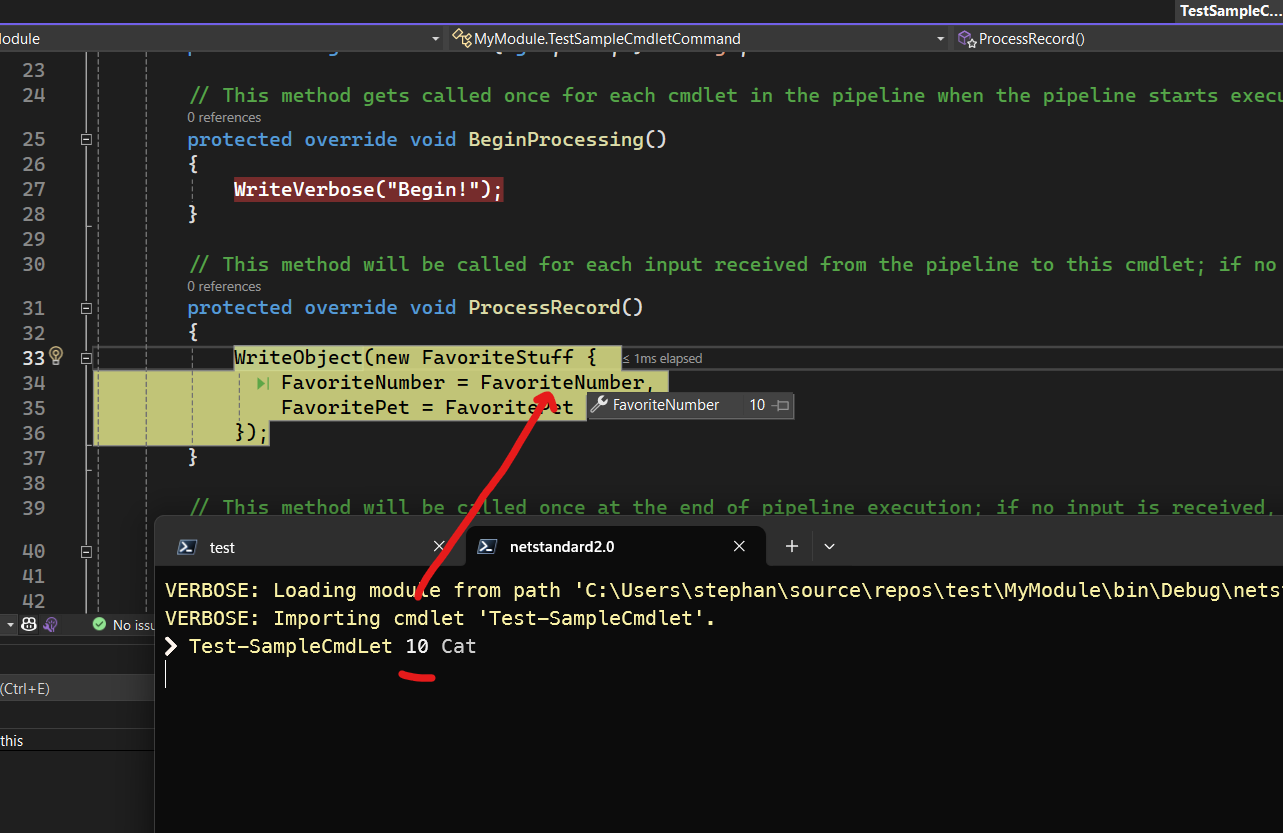
Hitting a breakpoint and inspecting the values
More to come
This is just the start of a series of posts about PowerShell development. Follow along for more posts on this topic.
- Documenting
- Dependency Injection
- Calling asynchronous code