Extending Home Assistant: Custom Integration
I recently built a custom integration Microsoft Calendar for Home Assistant. Which does just that, connect your Microsoft 365 calendar to Home Assistant. Allowing you to react to events from your calendar and to even modify events in your calendar. This post will describe how you can do the same with the support for debugging, which is essential for your development/testing flow.
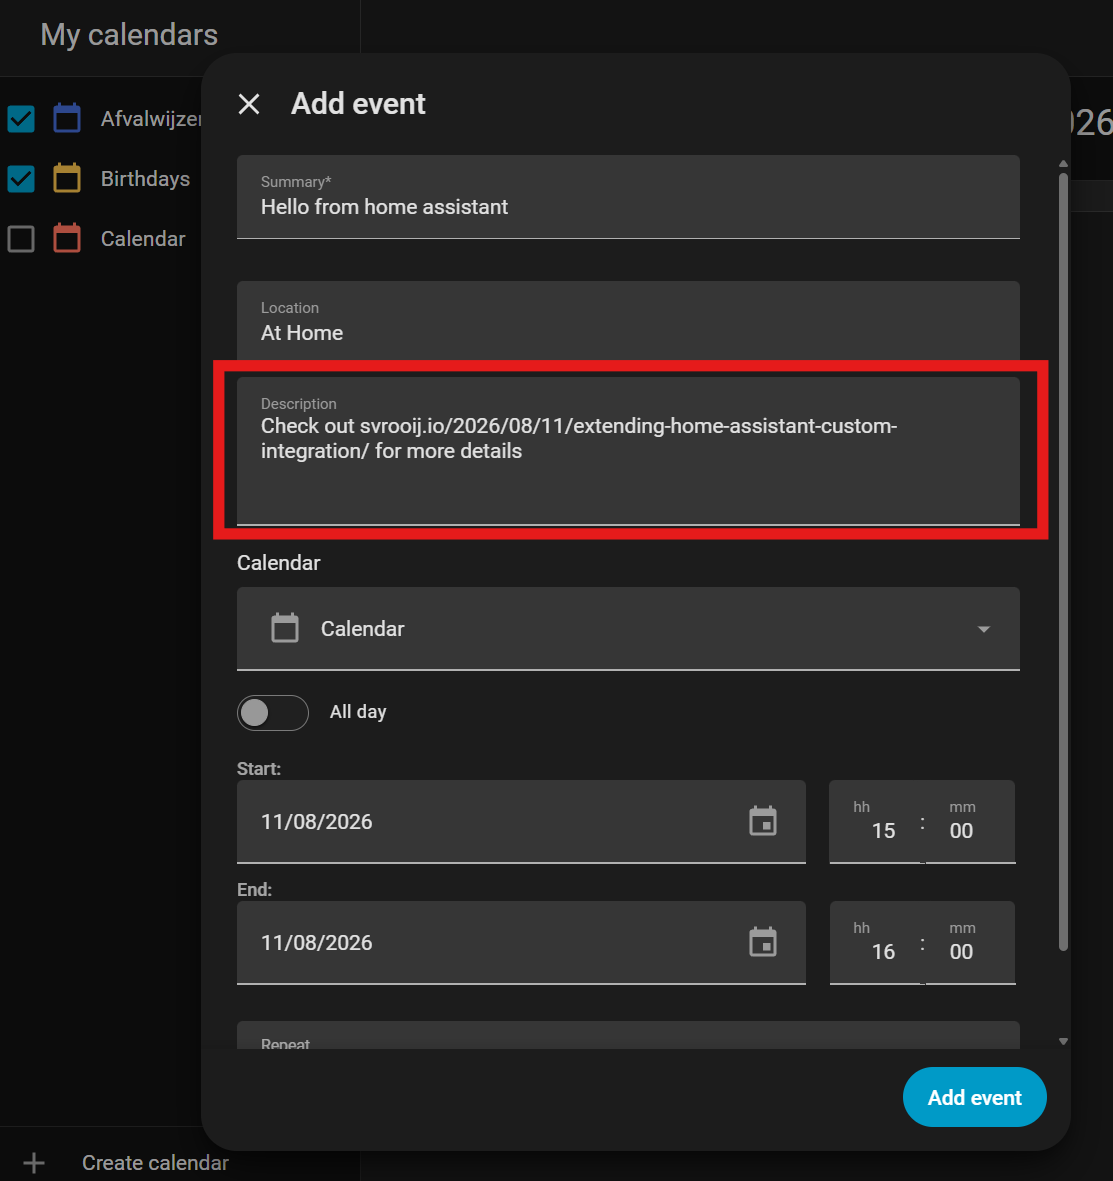
Home assistant add event to M365 calendar
Why a new integration for Microsoft Calendars?
First lets address the why question. Since Home Assistant version 2025.4 there is support for the OAuth2 code flow with PKCE. Check-out this post where I show you how I brought PKCE to Home Assistant. All the other integrations that talk to the Microsoft Calendar require you to setup your own client id (which is no problem), and a client secret (which is the real problem).
In Microsoft Entra you can create a client secret for your application, these expire, which is annoying because you have to renew them every time. Home Assistant has support for application credentials to store them, but still you are responsible to renew them.
The other integration for this Microsoft 365 - Calendar does not support Application credentials (and does not want to add support). So I though I’ll just create my own integration.
What is a custom integration?
Home Assistant has a bunch of integrations built-in, changes to these are checked by the Home Assistant team. And they are released together with Home Assistant.
Next to that there also is the Home Assistant Community Store, with a bunch more of integrations and themes you can install yourself. It has two flavors, you can have your integration included in the default repositories. Or you can require your users to add it as a custom repository
Either way, this allows you to create a github repository that hosts your integration, you can have your own release schedule and you can pretty much do whatever you like.
I opted to create my integration as a custom integration, because that way I was able to get started faster and gather some feedback before trying to make this a part of Home Assistant itself.
Anatomy of a custom integration
To create an integration that is supported by HACS, you’ll need to follow a certain structure.
custom_components/__init__.pyJust create this file so you tell python it can “load” this folder.custom_components/{your_integration_domain}this is the folder where you integration lies.custom_components/{your_integration_domain}/__init__.pyThe file that is loaded when your integration is added, this is used to setup stuff.hacs.jsona manifest file to tell HACS what type of Home Assistant extension is in this repository and a description how to download it. Be sure to adjust accordingly.README.mda readme file that is shown in HACS when your integration page is shown.
Extra: requirements.txt
To be able to debug and test your integration (highly recommended), you’ll need some additional Python packages installed. I compiled a list that allows you to install Home Assistant with all the packages that are also required for a default setup (but not included in their own requirements?). Create a requirements.txt file in the root of your repository with this content:
pip>=21.3.1
colorlog==6.10.1
homeassistant
numpy
aiohasupervisor
mutagen
radios
gtts
hassil
home-assistant-intents
pymicro_vad
pyspeex_noise
aiohttp_fast_zlib
isal
debugpy
Extra: Default home assistant configuration
Create a config/configuration.yml file with this content, be sure to replace the logs entry for to your custom component. This basic home assistant configuration is as tiny as possible configuring only the absolute necessary components to start home assistant (as of 2026-08-11). You might want to remove the my: line if you’re not working with application credentials.
Extra: DevContainer
As a notorious Windows user, I refuse to install Node & Python on my machine. If you do that things just start interfering with each other and I don’t like that. I though this would make debugging a custom integration very difficult, but as it turns out all you need is a DevContainer that is setup for that exact job.
Create a .devcontainer/devcontainer.json file in your repository with the following content:
{
  "name": "microsoft-calendar",
  "image": "mcr.microsoft.com/devcontainers/python:3.14-bookworm",
  "postCreateCommand": "git config --global --add safe.directory ${containerWorkspaceFolder} && pip3 install --user -r requirements.txt",
  "forwardPorts": [
    8123
  ],
  "portsAttributes": {
    "8123": {
      "label": "Home Assistant",
      "onAutoForward": "notify"
    }
  },
  "customizations": {
    "vscode": {
      "extensions": [
        "charliermarsh.ruff",
        "ms-python.python",
        "ms-python.pylint",
        "ms-python.vscode-pylance",
        "redhat.vscode-yaml"
      ],
      "settings": {
        "files.eol": "\n",
        "editor.tabSize": 4,
        "editor.formatOnPaste": true,
        "editor.formatOnSave": true,
        "editor.formatOnType": false,
        "files.trimTrailingWhitespace": true,
        "python.analysis.typeCheckingMode": "basic",
        "python.analysis.autoImportCompletions": true,
        "[python]": {
          "editor.defaultFormatter": "charliermarsh.ruff"
        },
        "python.analysis.autoSearchPaths": false,
        "terminal.integrated.defaultProfile.linux": "bash",
        "terminal.integrated.profiles.linux": {
          "bash": {
            "path": "bash",
            "icon": "terminal-bash"
          }
        },
        "python.analysis.extraPaths": [
          "/home/vscode/.local/lib/python3.14/site-packages/"
        ],
        "python.defaultInterpreterPath": "/usr/bin/python3"
      }
    }
  },
  "remoteUser": "vscode",
  "features": {
    "ghcr.io/devcontainers-extra/features/pylint:2": {},
    "ghcr.io/devcontainers-extra/features/apt-packages:1": {
      "packages": "ffmpeg,libturbojpeg0,libpcap-dev"
    }
  }
}
And once you installed the Dev Containers extension in VSCode, you’re immediately prompted to Re-open in container. Because of the requirements.txt and the postCreateCommand. This will setup a new dev container specially built for debugging your integration.
Extra: Launch configuration
To be able to quickly debug your integration with just a press on the F5 button, you’ll also need a .vscode/launch.json file. This file will setup debugging using debugpy and then run home assistant for you.
Build your integration
You now have all the things needed to get started with your custom integration. The team behind home assistant made a great effort into making all these built-in integrations. You might want to have a look there for some pointers. You can also ask AI, most models know home assistant pretty well, since it is one of the biggest open source projects around.
Built plenty of tests
I’ve built some tests for my custom integration. This feels like the best way to validate my integration does what is supposed to do. If issues would appear, I would built a test that would validate those issues and try to fix them from there.
I’ve also created a workflow that executes all my tests for every push and pr to main, so I make sure there won’t be any pull requests that break existing functionality.
Hacs workflows
I would create a .github/workflows/validate.yml file as soon as possible. Take the contents of this file and use it to create your own workflow.
Requirements for the HACS community repo:
Before you submit it to be included into the default repo, make sure you add your new repository as a custom repository and test it out. Adding the workflow early in the process makes sure you’re not annoyed by those rules if you ever want to submit your integration to the default community repository.
Conclusion
Building custom integrations is fun, if you use this guide you can even debug your integration an quickly see what is happening. This really helps my own workflow.
What other cloud service would you like to see integrated into Home Assistant? Let me know on any of these channels:



